
Coffee doesn’t just kickstart my mornings; it’s also my go-to for giving my skin a fresh, glowing boost. I’ve played around with lots of storebought scrubs, but nothing quite matches the results (and satisfaction) of making a simple, homemade coffee scrub. If you’re searching for the best DIY coffee scrub for smooth, radiant skin, I’ve got a recipe and some tips that you’ll probably want to try.
How Coffee Scrubs Help Your Skin Glow
Coffee scrubs have become a pretty popular choice for smoothing rough patches and revealing a natural glow. The secret’s in the caffeine and mildly gritty texture, which help buff away dead skin while giving you a little energy boost through your senses (thanks to that awesome coffee aroma!). On top of all that, caffeine is wellknown for its temporary tightening effect, which can leave your skin looking a bit more toned than before.
The exfoliation from coffee grounds encourages the renewal of skin cells, and regular smoothing with a scrub can help keep your skin feeling soft and healthy. Plus, you can completely control what goes inside—no mystery chemicals or artificial fragrances like you find in some storebought products.
DIY Coffee Scrub Recipe for Glowing Skin
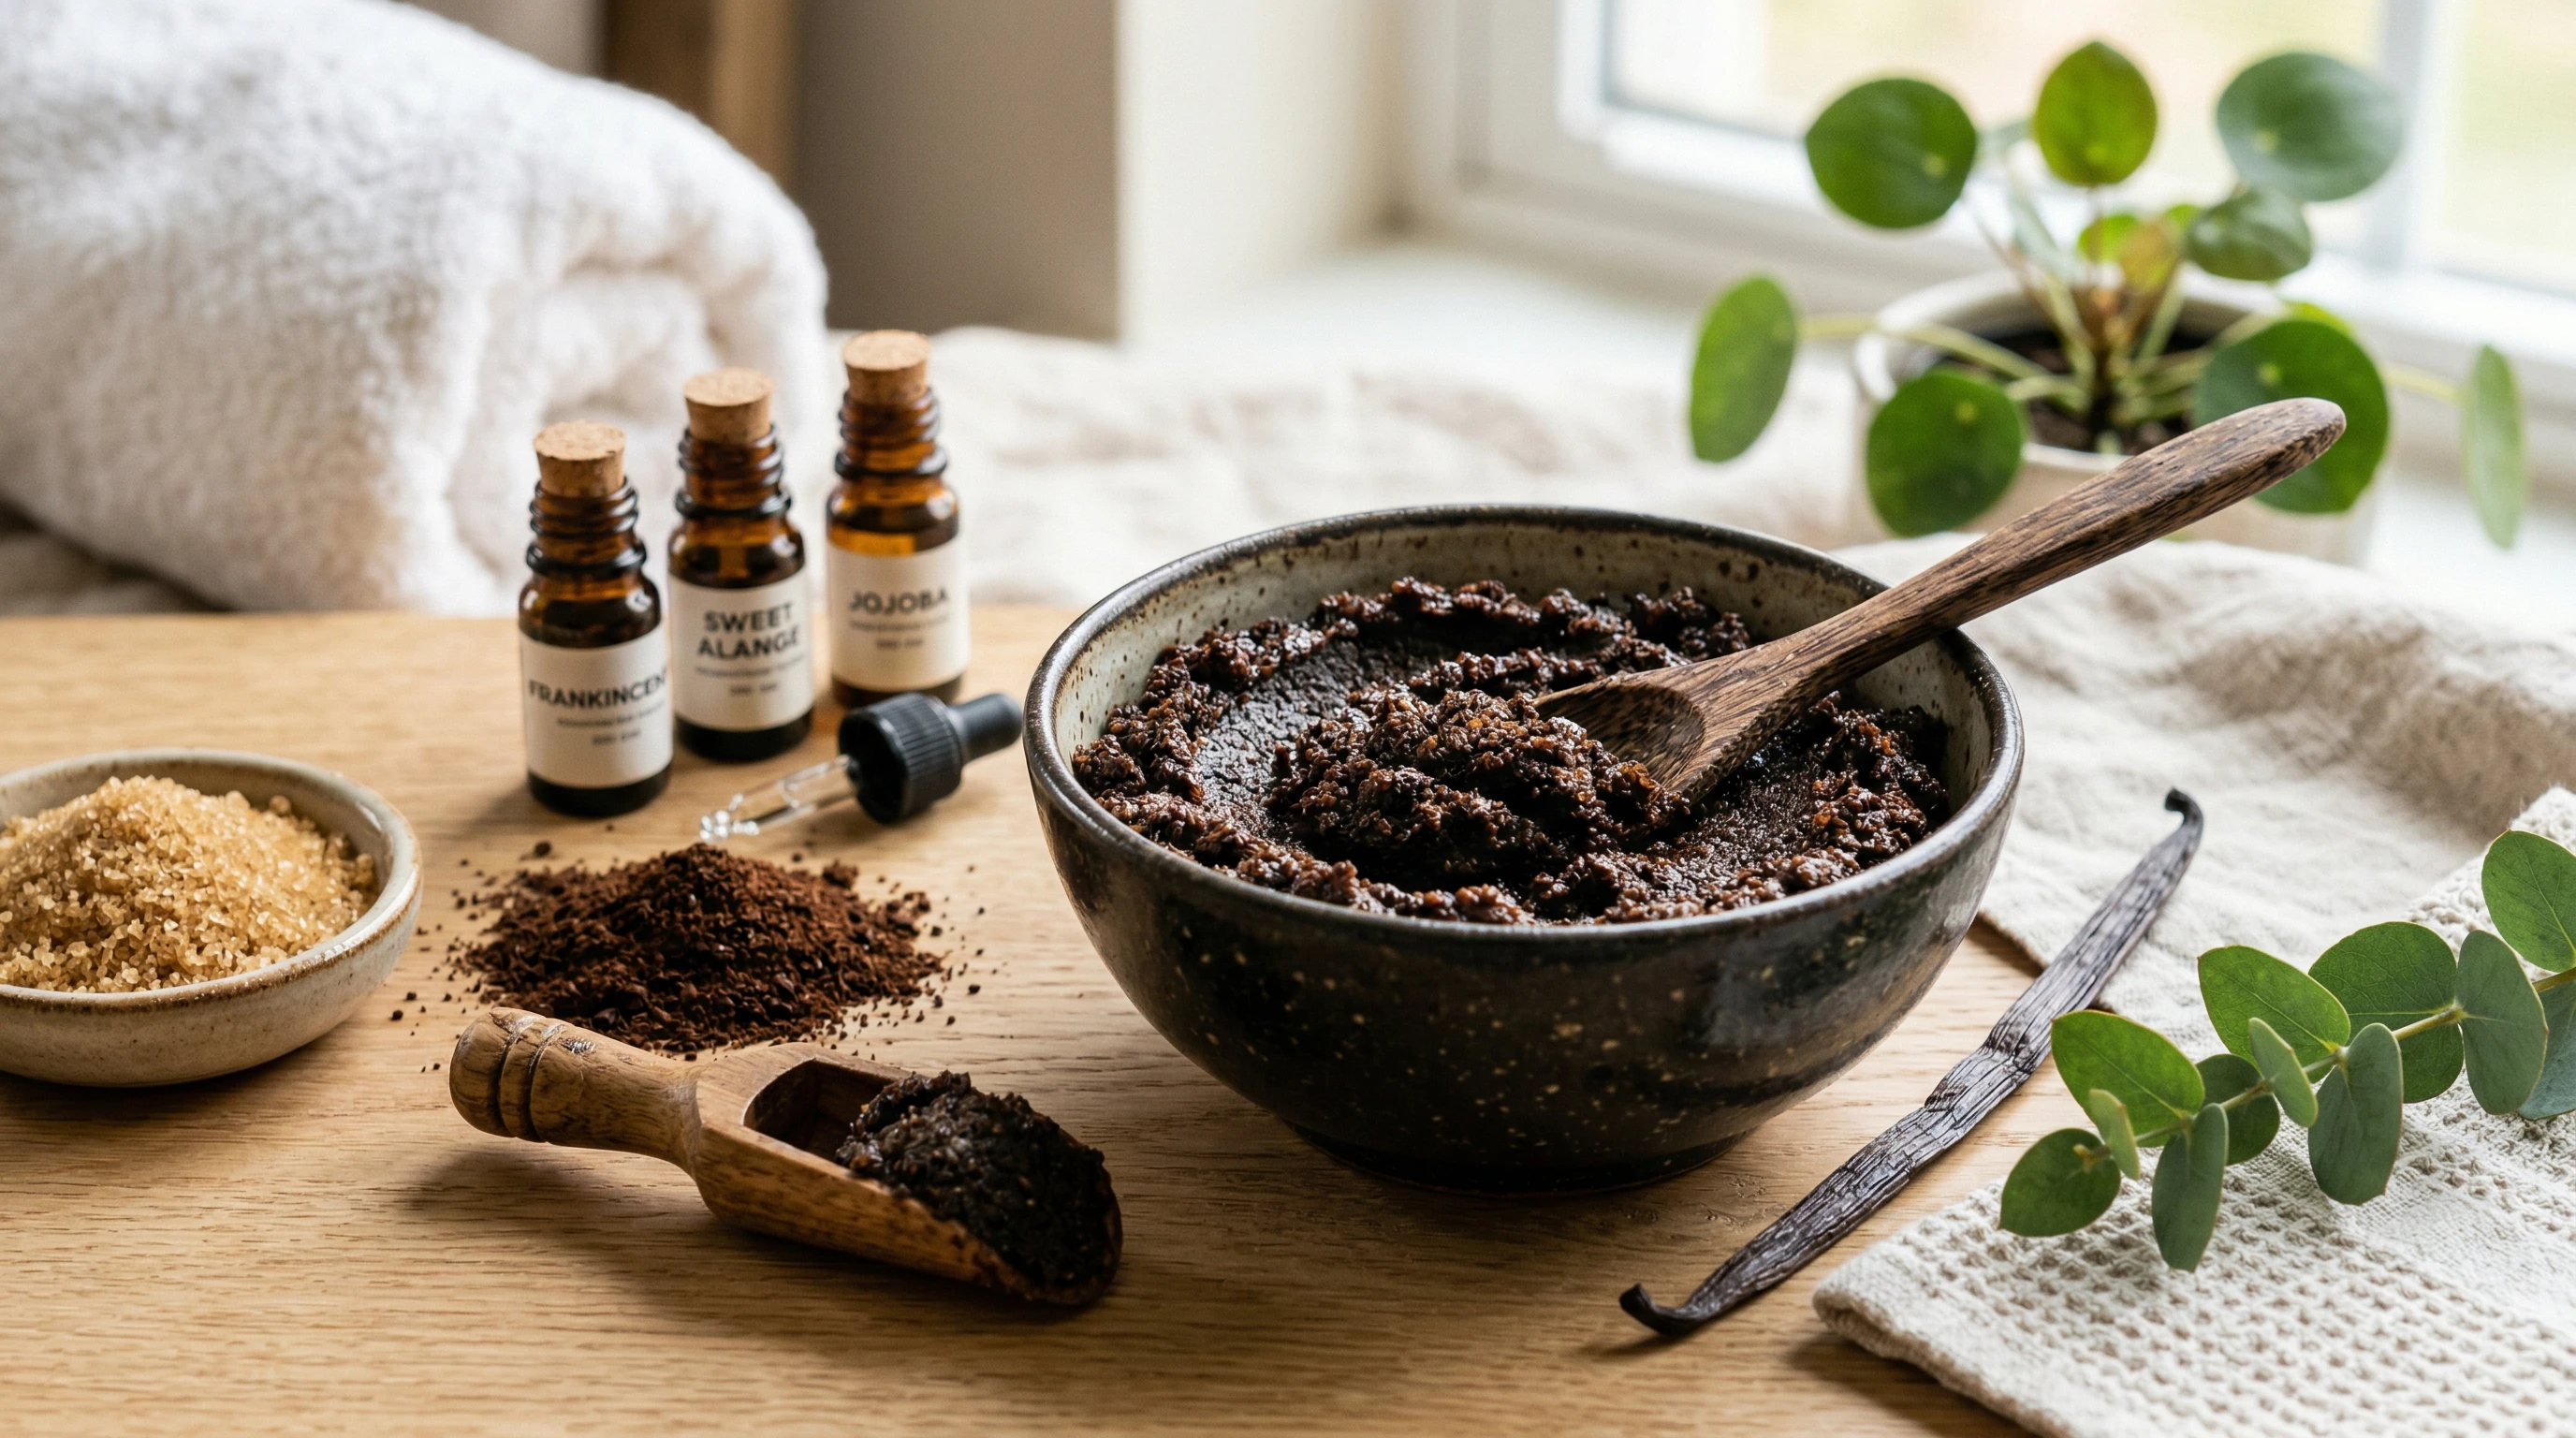
After a lot of trial and error in my own kitchen, here’s the blend that works best for me. It’s simple to mix up and doesn’t require any hard to find ingredients.
- 1/2 cup finely ground coffee (fresh or used, dried completely if reused)
- 1/2 cup granulated sugar or brown sugar (brown sugar is a bit softer on the skin)
- 1/3 cup carrier oil (coconut, olive, almond, or grapeseed; pick what works best for your skin type)
- 10 drops vitamin E oil (optional for extra nourishment)
- 10 drops of your favorite essential oil (like lavender, tea tree, or sweet orange; optional for scent)
- 1/2 teaspoon Ecocert approved broad spectrum preservative (super important if you plan to use this in the shower; more on this below)
- 1 teaspoon Polysorbate 80 (helps the scrub wash away more easily)
Mixing Up the Scrub
Combine the dry ingredients (coffee and sugar) in a bowl. Add the carrier oil, vitamin E, and essential oils if you’re using them. Stir everything together so you get a rich paste. Mix in your preservative and Polysorbate 80 to keep your formula safe and showerfriendly. Spoon the scrub into a clean jar, and you’re good to go.
Tips for Prepping and Applying Coffee Scrub
Getting the most out of your scrub is about more than just the recipe. Here’s a stepbystep approach I always follow for smooth, happy skin:
- Wet your skin with warm water first. Taking a moment to soak your skin before scrubbing is key. Warm water softens the skin and preps it for gentle exfoliation, so the scrub can do its job better.
- Step away from the shower stream before applying. Otherwise, your scrub will rinse away too quickly. Step to the side, then grab a generous handful for each area you want to treat.
- Be generous; cover the skin completely. You want enough scrub so it can glide around rather than just stick in one spot.
- Check your formula for a preservative before using in the shower. Water plus DIY scrubs equals mold risk. A broad spectrum preservative keeps things safe for your skin and extends shelf life.
- If your scrub doesn’t have a preservative, skip using it where it will get wet. Stick to dryhand scooping and quick, singleuse batches for safety.
- Scrub gently with slow, circular motions. No need to press hard; the coffee grounds do the work. Focus on rough patches where dead skin builds up:
-
- Elbows
- Knees
- Feet
- Don’t linger too long on one area. Overscrubbing can cause redness or soreness. If you notice irritation or your skin starts stinging, stop right away. It’s all about gentle exfoliation, not scrubbing layers off.
- Rinse off by stepping back under the shower. The Polysorbate 80 helps the oils and coffee rinse away easily, leaving less mess behind. If you’ve used a more natural preservative, you might notice a slight residue; just rinse a little longer and pat dry.
- Scrubbing in the shower keeps things tidy. Any mess washes down the drain, so cleanup is super easy.
Customizing Your Coffee Scrub for Different Skin Types
Everyone’s skin reacts differently to exfoliation. Here are my go to adjustments so this scrub works no matter your skin type:
- For sensitive skin: Use brown sugar instead of granulated for a gentler touch, and pick an oil like almond or grapeseed, which are less likely to clog pores. Cut back on the coffee by a tablespoon or two.
- For dry skin: Add a spoonful of honey to amp up the moisture. Make sure your carrier oil is nourishing; coconut and avocado oils top my list.
- For oily skin: Use light oils, like jojoba or grapeseed, and add a few drops of tea tree oil for a soothing, purifying kick.
- If breakouts are a concern: Skip essential oils and choose sugar over salt (which can sting). Try making tiny batches so your scrub is always fresh.
Test a small bit on your inner arm before using it everywhere, just to be sure your skin loves it as much as you do!
Why Preservatives Matter in DIY Scrubs
This one’s really important. I know it’s tempting to skip preservatives if you’re going fullon natural, but water in the shower plus organic ingredients means bacteria and mold can grow fast. A broad spectrum preservative keeps your scrub safe for skin contact and helps it last longer on the shelf. There are even Ecocert approved (plantbased) options you can find online if you want to keep things clean and green.
If you decide not to use a preservative, make just enough scrub for one or two uses; don’t store it in the damp bathroom. Always use dry hands or a clean spoon to scoop it out, and throw away any leftovers within a day or two.
Coffee Scrub Hacks for Smoother, Brighter Skin
These are some extra tips I rely on for a topnotch at home spa moment:
- Shave first, scrub after a day or two. Applying the coffee scrub to freshly shaved skin can sting, so I usually wait 2448 hours.
- Massage the scrub into skin in upward strokes. This helps improve circulation for an even stronger brightening effect.
- Focus time where you want brighter, smoother skin. My favorite target zones: the backs of my arms (goodbye, bumpy skin!), my legs, and my feet.
- Pair with a moisturizer after rinsing. Lock in hydration with a simple, fragrancefree lotion or body oil to keep your skin feeling soft all day.
- Limit exfoliation to 23 times a week. More often isn’t better; you want to let your skin recover and rebuild in between uses.
Extra Benefits of Using Coffee on Skin
Beyond exfoliation, coffee is packed with antioxidants, which may help protect your skin from the environment. The temporary tightening effect from caffeine makes skin look firmer while reducing puffiness, which is why some people (including me) love using it on tired legs or underarms. A coffee scrub’s gritty texture can also help fight ingrown hairs, so it’s perfect for those tricky spots post wax or shave, as long as the skin isn’t freshly irritated.
Addressing Common Questions About DIY Coffee Scrubs
Question: Can I use fresh or used coffee grounds?
Answer: Both work; just make sure used grounds are completely dried to avoid bacteria. Fresh grounds have a stronger scent and a slightly rougher texture, which some people love.
Question: Will coffee scrub stain my skin or shower?
Answer: It usually won’t stain your skin, but it can leave behind a ring in the tub if you don’t rinse thoroughly. A quick blast of water washes it away easily. If you’re using coconut oil, just wipe down the tub floor so it doesn’t get slippery.
Question: How long should I leave the scrub on my skin?
Answer: A few minutes is all you need. Gently scrubbing and letting the coffee linger for two to three minutes is enough for results and helps keep your skin from getting too dry.
Question: Can I use the coffee scrub on my face?
Answer: I avoid using this exact scrub on my face because the grounds are usually too rough and could irritate delicate skin. If you want a facial version, use ultrafine coffee grounds or try oatmeal instead of sugar for gentle exfoliation. Always patch test first.
Question: How should I store any leftover scrub?
Answer: Store leftovers in an airtight container away from moisture and light. If your scrub has a preservative, it’ll last a month or more. No preservative? Use it up in a day or two and keep it cool and dry.
Ways to Take Your DIY Coffee Scrub Up a Notch
If you want to take your scrub game further, try these easy addins and swaps:
- Use Himalayan or sea salt in place of some sugar. This gives a coarser texture; awesome for feet or elbows, but skip on sensitive skin.
- Add a tablespoon of unsweetened cocoa powder. Double the antioxidant punch and give your scrub a dessertlike feel.
- Jazz up the scent with spices. Cinnamon or cardamom work well in small amounts for a warming, cozy twist.
- Mix in ground oats. Super soothing and a natural way to soften things up further.
Get creative and make it your own! The beauty of DIY is how you can tweak every batch for whatever your skin needs that day.
DIY Coffee Scrubs in Daily Skincare Routines
I like to use my coffee scrub in the shower. Everything rinses clean without extra mess, and my skin feels babysoft afterward. I save it mostly for days my skin feels rough or dry, or if I want a treat before wearing shorts or dresses. Some of my friends use it before selftanner for a super smooth base, which helps get an even color without streaks.
After rinsing, I gently pat my skin dry and always apply moisturizer while my skin’s still slightly damp to hold in that fresh hydration.
References for Further Reading and Safety
DIY coffee scrubs are a handson way to treat your skin with ingredients you trust. Mixing up a batch is quick, and with the right steps and safety habits, you get professional feeling results right at home. Treat yourself and let the natural glow shine through!
This is a really helpful and detailed guide, especially the part about preservatives, which a lot of DIY posts tend to overlook.
I’m curious, based on your experience, do you find that using fresh coffee grounds gives noticeably better results than reused ones, or is the difference mostly in texture and scent?
Also, for someone just starting out, would you recommend keeping it simple with just coffee, sugar, and oil first, or is it worth adding things like vitamin E and essential oils right away?