
 Waking up with tired, rough skin is never fun. I like using natural scrubs that really work, and coffee scrub keeps my skin feeling smooth, fresh, and looking glowy. Those gritty coffee grounds do a great job at buffing away flakes, and the natural oils leave my skin feeling super soft after every use.
If you’ve never made a DIY coffee scrub before, it’s actually simple and surprisingly affordable. With a few ingredients from your kitchen, you can whip up a custom blend that smells great and gives you instant results. This guide will help you make your own coffee scrub at home for smoother, happier skin. Plus, it’s fun to experiment and make a body scrub that fits your own needs!
What Makes Coffee Scrub Effective?
Fresh coffee grounds do more than just smell good in your shower. They’re packed with antioxidants and have a coarse texture that’s perfect for gentle exfoliation. The caffeine in coffee can also help reduce puffiness and may help with the look of cellulite, which is a nice bonus.
- Exfoliation: The gritty texture of the grounds buffs away rough, dead skin for a silky feel right away.
- Antioxidants: Coffee is loaded with antioxidants that help fight off skin-damaging free radicals, keeping your skin looking more youthful.
- Caffeine: Can temporarily tighten and brighten the skin.
- Boosted Circulation: Massaging your skin with the scrub gives circulation a little extra push, making your skin look more vibrant and lively.
Most storebought scrubs cost a lot and are loaded with extra ingredients you really don’t need. Making your own puts you in control of what goes on your skin and lets you keep it simple and fresh.
Easy DIY Coffee Scrub Recipe
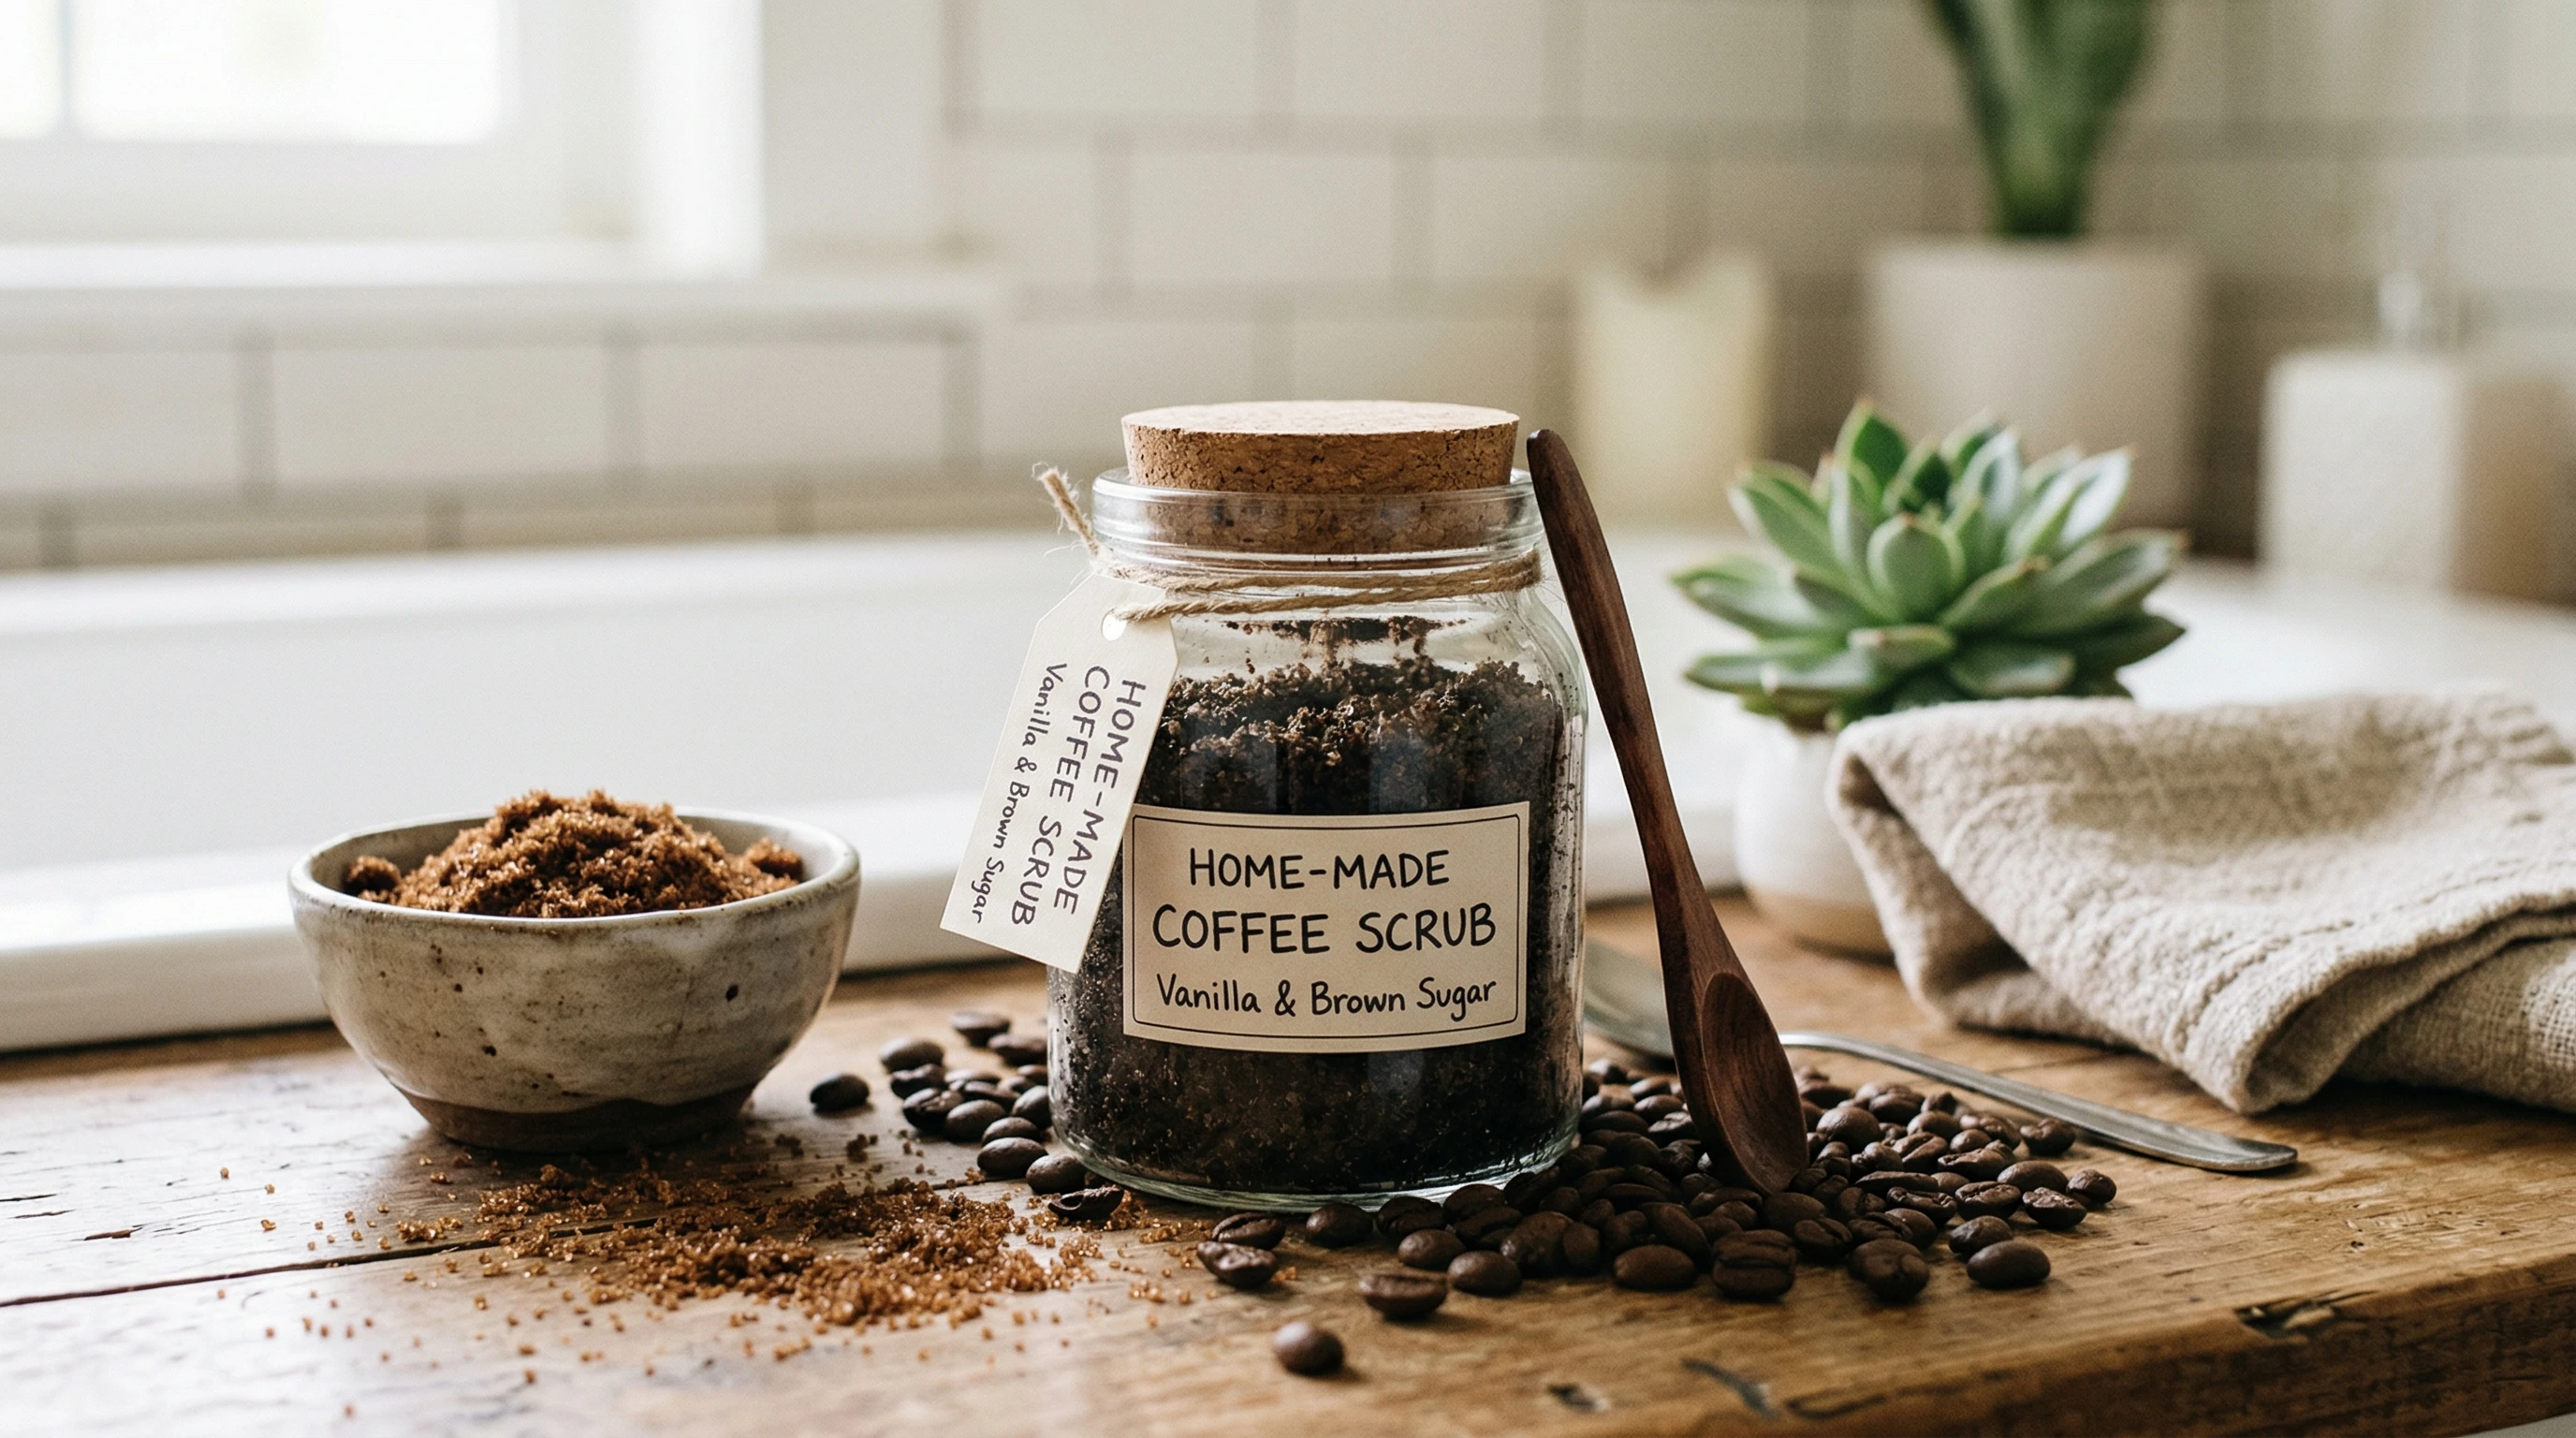
You only need a few simple ingredients to make an effective coffee scrub. Here’s what I use for my favorite blend:
- 1/2 cup used or fresh coffee grounds
- 1/2 cup granulated sugar or brown sugar
- 1/4 cup carrier oil (like coconut or olive oil)
- 1 teaspoon Vitamin E oil (optional for extra nourishment)
- 10 drops essential oil (like vanilla, peppermint, or orange – totally optional)
Mix all the ingredients in a clean bowl until they’re well mixed. If it feels too dry, add a splash more oil. If it’s too runny, add more coffee or sugar until you get the texture you like best. Your custom blend should be thick, slightly crumbly, and easy to scoop up without being too drippy.
How to Use Your Coffee Scrub
- Step into the shower and get your skin wet.
- Take a scoop of scrub and gently rub it in circles over your arms, legs, or any rough areas. For your face, only use the scrub if your skin isn’t too delicate, or swap to a finer grind or softer base like ground oats.
- Let it sit for a minute if you have the time, so those antioxidants can soak in.
- Rinse thoroughly with warm water. Pat dry and finish with lotion or body oil for extra smoothness.
I use coffee scrub two or three times a week. If you make it a regular habit, your skin will look brighter and stay soft. Just remember to avoid overdoing it on sensitive spots!
Alternative Ingredients for Custom Coffee Scrubs
Switching things up with different ingredients can give your scrub new benefits or make it better suited for your skin type. Here are some easy swaps to test out:
- Sugar: Brown sugar is softer and works well if your skin is sensitive. White sugar is a bit grittier for a stronger scrub.
- Salt: Swap sugar for fine sea salt if you want deep exfoliation (best for rougher skin, not sensitive).
- Oats: Add a tablespoon of finely ground oats for a soothing touch, especially if your skin gets irritated easily.
- Cocoa Powder: A tablespoon of pure cocoa powder adds extra antioxidants and brings a luxurious scent to your blend.
- Cinnamon or ground turmeric: Both can help with redness or swelling. Use just a pinch, as they have a strong scent and effect.
- Yogurt or honey: Stir in a little plain yogurt or honey for extra moisture and a quick boost of healthy skin ingredients. Just know that adding these turns the scrub into a singleuse product due to perishability.
It’s easy to get creative with what’s already in your kitchen. Every switch gives you a new scent, feel, or benefit so you can make your scrub fit your needs.
Carrier Oil Guide: Pick Your Best Match
The carrier oil you choose can really change how your skin feels after using the scrub. Here are some oils that work well, along with quick tips for various skin types:
- Coconut oil: Thick, moisturizing, and perfect for dry skin. It can be heavy, so avoid it if your skin breaks out easily.
- Olive oil: Rich and nourishing, and easy to find. It works well for most skin types and isn’t super greasy.
- Sweet almond oil: Light and fast-absorbing, it’s great for normal to combination skin.
- Jojoba oil: Technically a wax, jojoba is close to natural skin oils. It’s a good choice for sensitive or oily skin and absorbs quickly.
- Grapeseed oil: Thin, lightweight, and soaks in fast. It’s ideal for oily or acneprone skin types.
If you’re unsure, olive oil or sweet almond oil are safe choices. All of these are affordable and easy to find. Always do a patch test first if you haven’t used a certain oil before, just to make sure your skin reacts well.
How Vitamin E Works In Your Scrub
- Antioxidant Power: Vitamin E helps keep the oils in your scrub fresher for longer and gives your skin extra moisture.
- ShelfLife Helper: It slows down how quickly oils go bad, making your scrub last longer before it gets funky.
- Not a Preservative: Just keep in mind, Vitamin E won’t keep bacteria or mold away. It’s an antioxidant, not a true preservative.
If you want your jar of scrub to last and keep smelling fresh, just a few drops of Vitamin E oil are worth adding.

Common Questions & Troubleshooting
My scrub feels too rough. What do I do?
Add more oil or swap in brown sugar instead of white for a gentler feel. Mixing in some ground oats also softens the mix quite a bit.
How long does homemade coffee scrub last?
Without a preservative, use your scrub within two weeks. If you use a preservative and clean all your tools and hands, it can last up to two months. If it smells off or you notice any fuzz, it’s time to throw it away.
My drain keeps clogging after using the scrub. Help!
Coffee grounds don’t dissolve, so a drain strainer is super helpful. It keeps the grounds out of your pipes and makes cleanup a breeze.
Can I use it on my face?
Coffee grounds can be a bit harsh for delicate facial skin, especially if you’re sensitive. For a gentler facial scrub, use a finer coffee grind or swap in ground oats as the base.
Next Steps for Smoother Skin
Now you’ve got an easy recipe and the knowhow to adjust your coffee scrub for your routine. Once you try out your own batch, you’ll see how fast and enjoyable it is to get skin that feels like you just visited a spa—but right at home and without breaking the bank.
- Choose your base ingredients (coffee plus sugar or salt) and carrier oil.
- Mix in a few extras or swap things to build your perfect blend.
- Add Vitamin E and a preservative if you want your scrub to last longer.
- Enjoy softer, healthierlooking skin all week long!
If you create a scrub you like, snap a photo and share your blend! Everyone’s skin has its own needs, so finding your favorite formula is part of the fun.